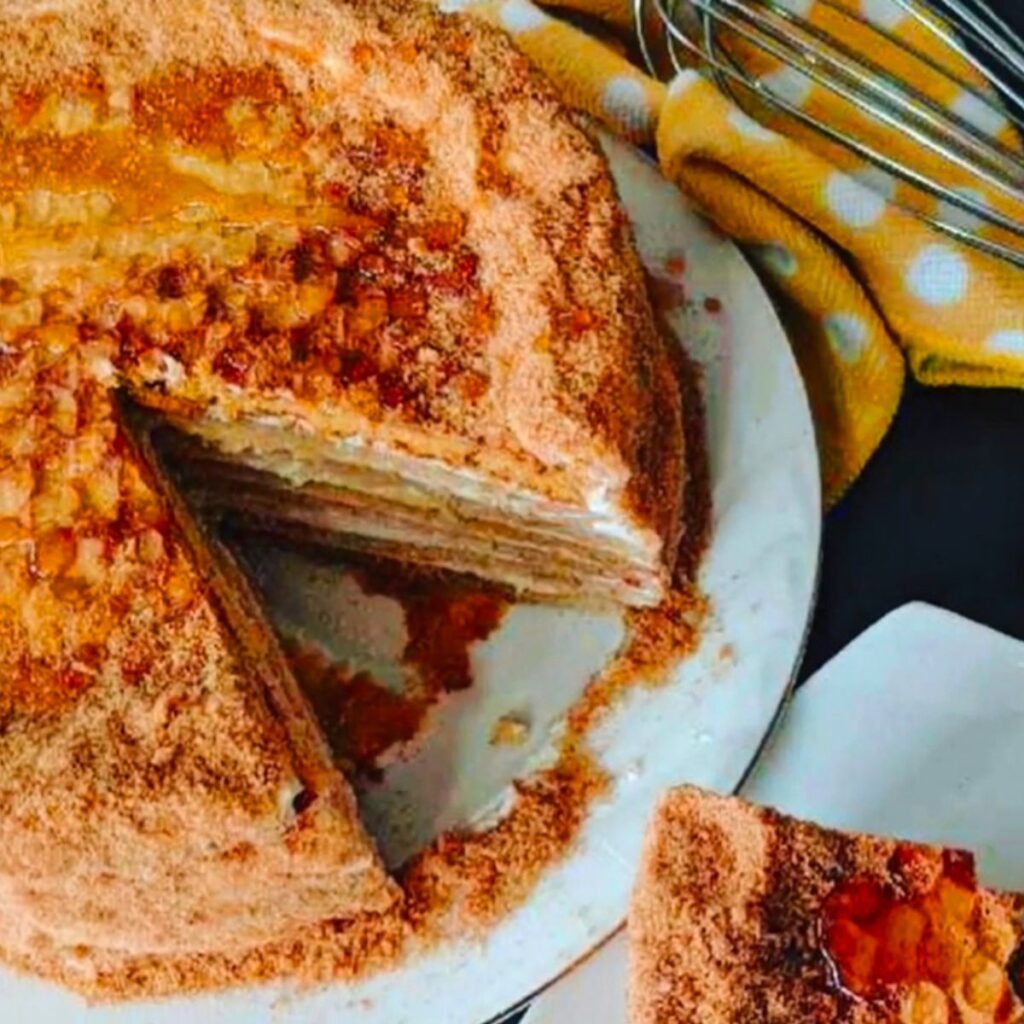
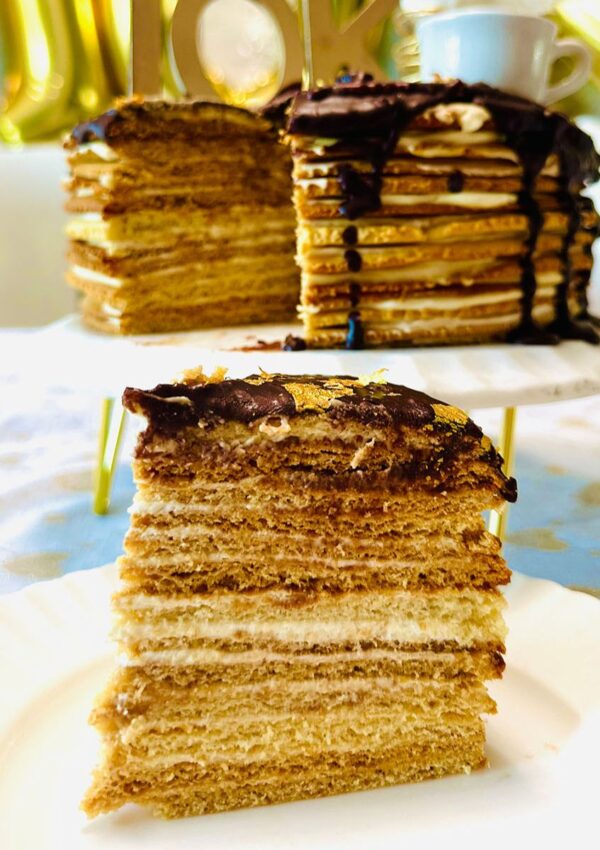
The Best Russian Honey Cake you can ever have! This beautiful buttery 6 layers of cake tastes like caramelized honey butter Graham Crackers and sweet biscuits. The vanilla cream has a delicious fluffy light texture that has a balanced tanginess from the sour cream topped with a crumbled biscuit finish. As a result, your taste buds will love you after one bite!
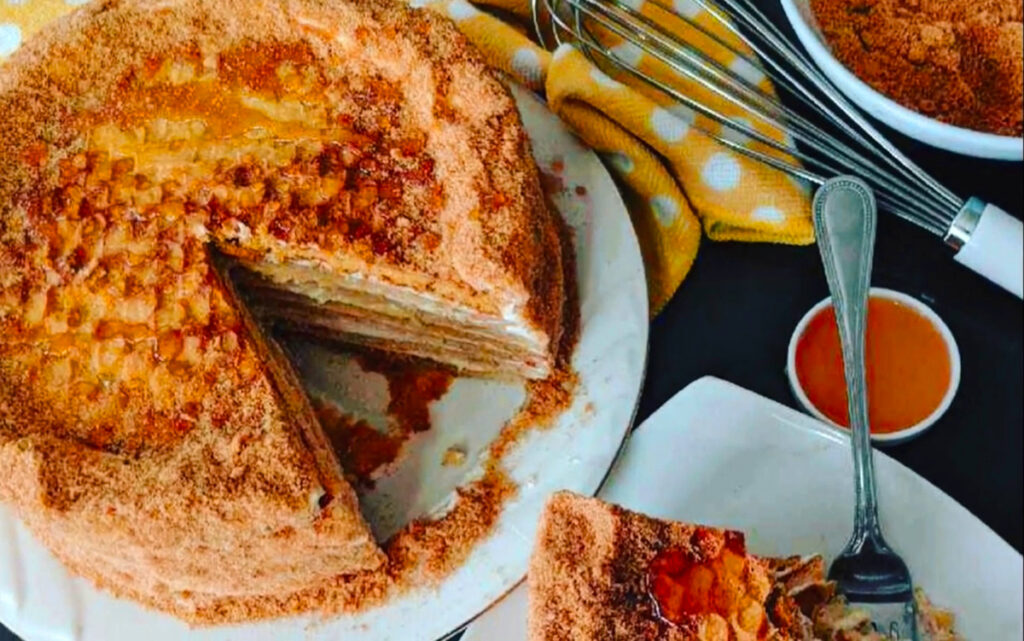
When I first laid eyes on this delicious cake, it was love at first sight! Just the simple design and lovely baked smell were mouthwatering! I first set eyes on this cake at an international bakery. When I first saw this cake, let me tell you, I walked out of that Bakery with just that cake. This sweet pastry doesn’t have much in the filling but the smooth and light cream inside compliments the cake with such delicious flavors. I love the simple combination of the lightly buttered cake and the soft fluffy cream that gives it the WOW factor!
Honey Cake can be served with a cup of coffee, or tea and can also be perfect with a glass of cold milk! Whether you have it with a sweet warm beverage or by itself, it will make your mouth water for more! Making this cake can be a bit time-consuming but overall, it’s well worth it and you just need a little patience. The best part about it is it’s a very simple recipe that is oh-so delicious! All in all, this cake has been one of my favorites of all time! Not to mention, every time I have ever made this cake, I was told by many it’s the “best” they have ever had! When something tastes as good as this, I have to share it! It’s to brag about it, seriously! 😉
The buttery layers, the soft airy texture of the cream, and the burnt taste of the butter… try it yourself, and then let me know if I was spot on! 😋
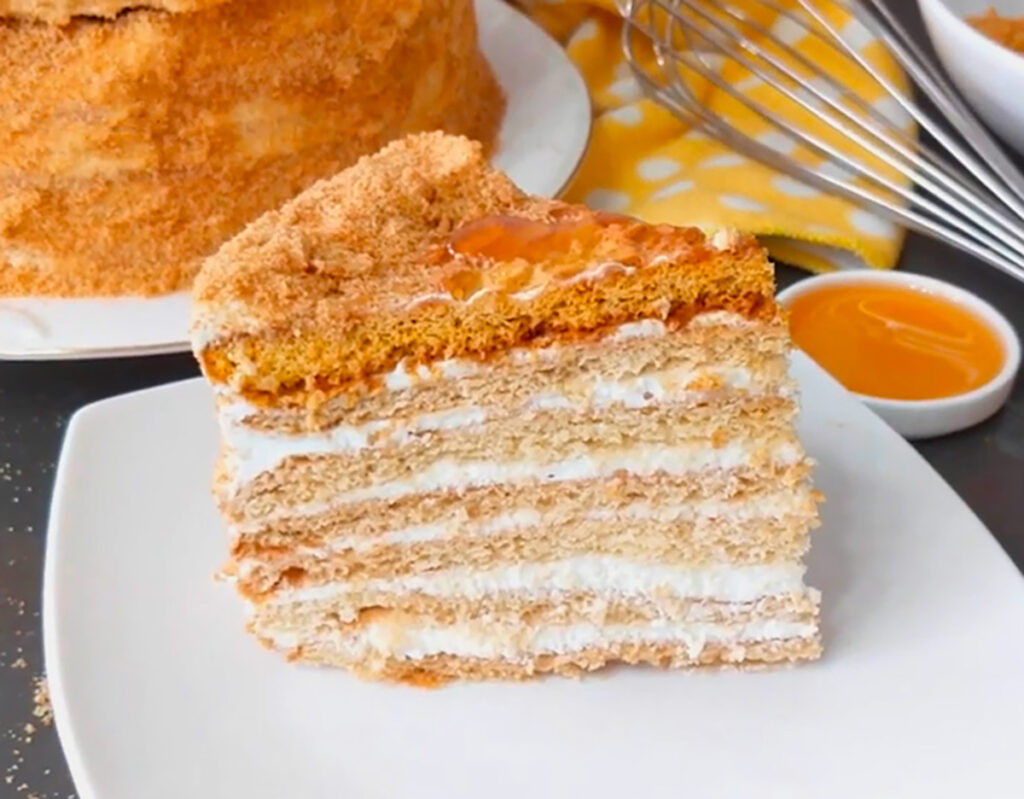
Its flavors become out of this world when it stays in the fridge for a few days! In other words, this cake tastes phenomenal, especially within 2-3 days after making it. The longest I have ever kept this cake was up to a week in the fridge and it was still amazing! As long as you keep it in the fridge, the flavors absorb and become moist, it’s extremely heavenly! Make it ahead of time and you will thank me later!
This cake is definitely a people-pleaser cake! Perfect for any occasion! I make it for birthdays, holidays, and any big functional event I am having! It’s a perfect cake that is loved by all!
This post contains referral links to products we have used or similar to the items used in this recipe. Galore Of Flavors earns a small commission on these links at no cost. You can find more products like these on our “Shop My Favorites” on our homepage! ♡
IN THIS POST: EVERYTHING YOU NEED TO KNOW TO MAKE THE BEST RUSSIAN HONEY CAKE!
- THE HISTORY BEHIND THIS CLASSIC HONEY CAKE
- 🍴INGREDIENTS YOU’LL NEED TO MAKE THESE RUSSIAN HONEY CAKE
- STEPS TO MAKE THIS RUSSIAN HONEY CAKE
- PREFER TO WATCH STEP-BY-STEP RECIPE VIDEO INSTEAD OF READING?
- JUMP TO RECIPE CARD
⏳THE HISTORY BEHIND THIS CLASSIC HONEY CAKE
As a matter of fact, this Honey Cake originated in the 20th century in the Russian Empire. This cake was created by a young chef who wanted to impress Elizabeth Alexeievna the wife of Tsar Alexander I, who did not like the taste of honey at all! Elizabeth Alexeievna was unaware that the pastry contained honey, but enjoyed the unique texture and subtle sweetness and fell in love with it! Since then, this honey cake, also known as Medovik has been one of Russia’s most popular desserts with many fans of this delicious and delicate dish.
I mean who wouldn’t?! It’s so yummy!
Shop Items from this Russian Honey Cake Recipe!
🍴INGREDIENTS YOU’LL NEED TO MAKE THESE RUSSIAN HONEY CAKE
Here is a preview of the ingredients you’ll need to make this recipe! You can find these at your local grocery store or you can shop online. (Detailed Ingredients in Recipe Card down below)
Tips before starting this recipe:
As mentioned before, this dish is time-consuming. With many steps that need to be followed, the process is simple. But there are some things to keep in mind..
- Plan Ahead! Making this cake at least two days before will be the best to get those flavors right!
- Allow the cake to chill in the refrigerator overnight. Doing this will allow the creamy frosting to absorb more into the cake and moisten it!
- Do not overcook the cake layers! Overcooking the layers of the cake will cause the cake layers to dry out.
- When folding your cream, make sure to fold gently. Do not overfold the cream! Constant folding will cause the cream to deflate and cause the cream to curdle and break down its fluffy structure!
Dough
- All-purpose Flour
- Sugar
- Butter
- Eggs
- Baking Soda
Whipped Cream
- Powdered Sugar
- Honey
- Heavy Whipping Cream
- Sour Cream
STEPS TO MAKE THIS RUSSIAN HONEY CAKE
Step 1: Dough – Firstly, preheat oven to 375°. Start to melt butter over a double boiler of water on medium heat. Mix in sugar with melted butter and honey. Gradually add one egg to the sugar and butter mixture and stir consistently on medium heat. Remove from the fire and allow this to cool off.
Step 2: Add baking soda and gradually add your sifted flour to your mixture. Knead your dough and add flour until your dough forms into a ball and has a semi-sticky texture. Form dough into a loaf and cut into 6 equal pieces. Start to roll out each piece on a floured parchment paper about 12″ x 10″ 1/4″ thickness. Place a towel over the extra pieces of dough as you work. This will allow it not to dry out.


Step 3: Cut your dough in either a round 8″ diameter or a rectangular form at 12″ x 8″ long. We cut ours in a round 8″ in diameter shape in this recipe. Remove extra dough trimmings from each dough combine and place them in plastic wrap. Bake each layer for 5-8 minutes until it is lightly browned.
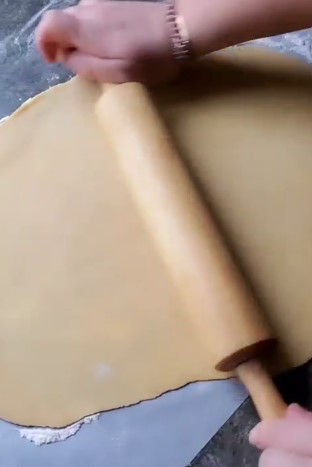
Step 4: After baking each layer, roll out extra dough trimmings about 1/8″ in thickness and bake for 8-10 minutes. This piece should be baked longer to achieve a darker more burnt taste to it, of course, don’t burn it!
Step 5: Cream Frosting – Add cold heavy cream to a bowl and set your mixer on medium-high speed until frothy and fluffy. In a separate bowl add sour cream, and powdered sugar and mix. Fold in your heavy whipped cream into a sour cream mixture gently. Place this into the fridge and chill for 1/2 hour.
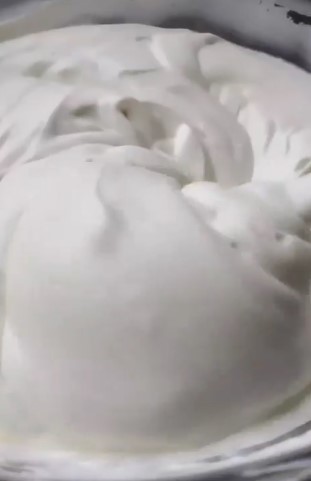
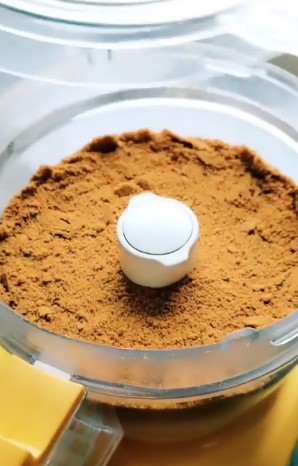
Step 6: After the dough trimmings have been baked, allow them to cool off, place the trimmings (darker pieces of dough) into a food processor, and pulse until a fine grind is achieved. Place 1 spoonful of frosting in the center of the cake dish and place one of your layers down. Spread a very light amount of cream about 1/4″-1/8″ in-between each layer. Continue to do this with each layer. Cream the top and the sides with a light frosting and sprinkle the cake crumble gently on the sides and top of the cake with your hand. Allow your cake to chill in the fridge overnight or up to 2 days for best-tasting results and enjoy!
PREFER TO WATCH STEP-BY-STEP RECIPE VIDEO INSTEAD OF READING?
Have you tried making our recipe yet? If so, we would LOVE to hear how it turned out! You can post, tag, rate, and comment down below and on Instagram! 👇 Thank you in advance!
Recie Ca
OTHER SIMILAR RECIPES LIKE THIS ONE YOU MIGHT LIKE…
The Classic Birdsmilk Cake (Ptasie Mleczko)
⭐⭐⭐⭐⭐
WRITE US A REVIEW BELOW ⬇️
Print
The Best Russian Honey Cake
- Total Time: 2 hours 35 minutes
- Yield: 1 Large Cake 1x
Description
The Best Russian Honey Cake
The Best Russian Honey Cake you can ever have! This beautiful buttery 6 layers of cake tastes like caramelized honey butter Graham Crackers and sweet biscuits. The vanilla cream has a delicious fluffy light texture that has a balanced tanginess from the sour cream topped with a crumbled biscuit finish. As a result, your taste buds will love you after one bite!
Ingredients
Dough
- 2 cups all-purpose Flour
- 1/2 cup Sugar
- 4oz unsalted Butter
- 3 Eggs
- 2.4 teaspoons Baking Soda
Whipped Cream
- 1 cup Powdered Sugar
- 3 teaspoons Honey
- 1 cup heavy Whipping Cream
- 3 cups Sour Cream
Instructions
-
Preheat oven to 375°. Start to melt butter over a double boiler of water on medium heat. Mix in sugar with melted butter and honey. Gradually add one egg to the sugar and butter mixture and stir consistently on medium heat. Remove from the fire and allow this to cool off.
-
Add baking soda and gradually add your sifted flour to your mixture. Knead your dough and add flour until your dough forms into a ball and has a semi-sticky texture. Form dough into a loaf and cut into 6 equal pieces. Start to roll out each piece on a floured parchment paper about 12″ x 10″ 1/4″ thickness. Place a towel over the extra pieces of dough as you work. This will allow it not to dry out.
-
Cut your dough in either a round 8″ diameter or a rectangular form at 12″ x 8″ long. We cut ours in a round 8″ in diameter shape in this recipe. Remove extra dough trimmings from each dough combine and place them in plastic wrap. Bake each layer for 5-8 minutes until it is lightly browned.
-
After baking each layer, roll out extra dough trimmings about 1/8″ in thickness and bake for 8-10 minutes. This piece should be baked longer to achieve a darker more burnt taste to it, of course, don’t burn it!
-
Cream Frosting – Add cold heavy cream to a bowl and set your mixer on medium-high speed until frothy and fluffy. In a separate bowl add sour cream, and powdered sugar and mix. Fold in your heavy whipped cream into a sour cream mixture gently. Place this into the fridge and chill for 1/2 hour.
-
After the dough trimmings have baked, allow to cool off and place trimmings (darker pieces of dough) into a food processor and pulse until a fine grind. Place 1 spoon of frosting in the center of the cake dish and place one of your layers down. Spread a very light amount of cream about 1/4″-1/8″ in-between each layer. Continue to do this with each layer. Cream the top and the sides with a light frosting and sprinkle the cake crumble gently on the sides and top of the cake with your hand. Allow your cake to chill in the fridge overnight or up to 2 days for best-tasting results and enjoy!
Notes
The original recipe asks to burn the butter and the honey before placing them into the sugar. I prefer not to but it’s up to you. If you want to burn the butter, place it in a pan and occasionally stir over medium heat until golden brown. Completely cool off before stirring in your eggs.
*** Our Nutrition information is estimated, so please make sure to check your own calculation to fit your diet.
- Prep Time: 2 Hours
- Cook Time: 35
- Category: Dessert
- Method: Oven Baked
- Cuisine: European
FREQUENTLY ASKED QUESTIONS: Russian honey cake
Honey Cake can last up to 2 weeks in a sealed container. As shown above, best if eaten within that week as the second week can start to dry your cake out.
⭐⭐⭐⭐⭐
WRITE US A REVIEW BELOW ⬇️ KEEP SCROLLING DOWN
We would love to hear your thoughts if you tried out our recipe! 😊


Amazing. This cake was incredibly delicious. Tasty, soft and luscious. Melts in your mouth. Goes great with coffee or tea.
Thank you Mariam for such kind words! We are extremly happy you loved the cake!🥰